


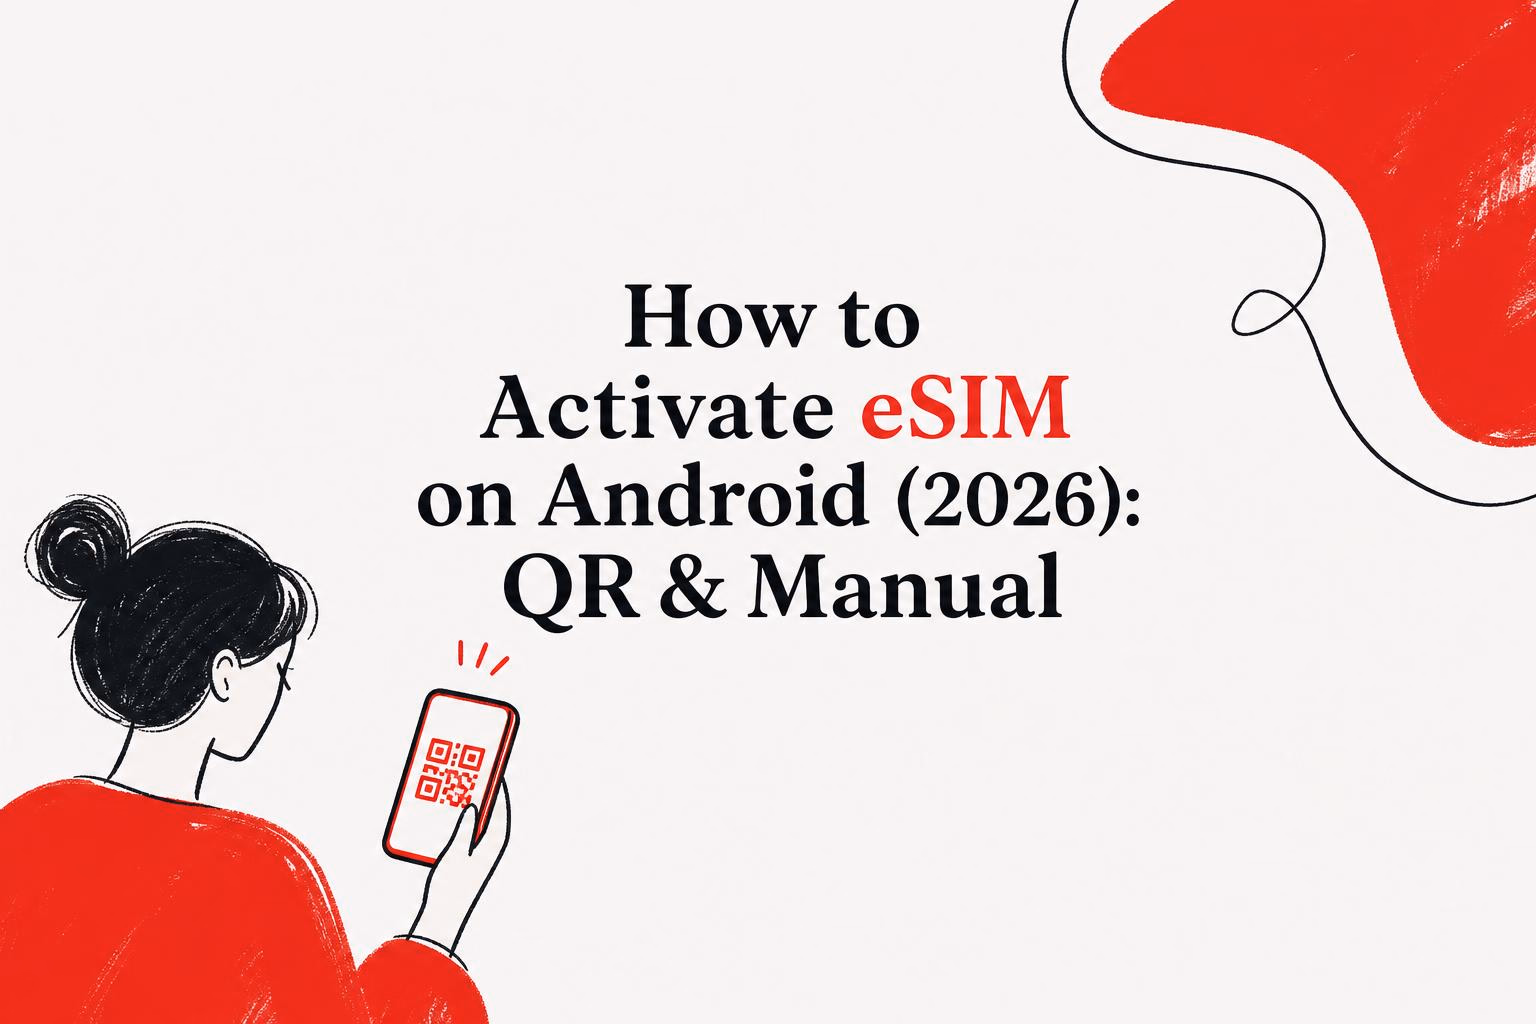
How to Activate eSIM on Android (2026): QR & Manual
TL;DR
Activating an eSIM on Android involves scanning a QR code or manually entering an SM-DP+ address in your phone’s settings. The exact menu path differs between Samsung, Pixel, and other Android devices. The most important thing to understand is that installing an eSIM and activating it are two separate steps, and you can install days before you actually need the plan to go live. This guide defines every term you’ll encounter and walks through activation for each major Android brand.
eSIM technology is growing fast. By 2025, an estimated 3.4 billion eSIM-capable devices were in circulation globally, up from just 1.2 billion in 2023. According to GSMA Intelligence, eSIM penetration in the consumer market is expected to double in 2026 and double again in 2027. If you’re reading this, you’re probably holding one of those devices right now and trying to figure out how to activate an eSIM on Android.
The problem is that every guide assumes you already know the terminology, and every Android brand puts the settings in a different place. This glossary fixes both issues. It defines every key term you’ll see during the process and gives you brand-specific paths so you can actually follow through.
For more eSIM guides and setup walkthroughs, check out the Esimify blog.
What Is an eSIM?
An eSIM (embedded SIM) is a small, programmable chip built directly into your phone’s motherboard. Unlike a traditional SIM card that you pop in and out, an eSIM stores carrier information digitally. You download a profile to it, and that profile tells your phone which network to connect to.
The practical benefit: no more hunting for tiny SIM cards, no more paperclip tools, no more visiting carrier stores in foreign countries. You buy a plan online, receive credentials, and add them to your phone through settings.
Most modern Android phones support dual-SIM functionality, meaning you can keep your home SIM active for calls and SMS while running a data-only eSIM for internet access. This is especially useful for travelers who need to stay reachable on their regular number while avoiding roaming charges. Over 51% of eSIM users first adopted the technology specifically for international travel.
If you’re planning a trip to Australia or Canada, a data-only travel eSIM lets you land with connectivity already set up.
eSIM Activation vs. Installation: What’s the Difference?
This is the single biggest source of confusion, and almost every other guide glosses over it.
Installation means downloading the eSIM profile onto your phone. You scan a QR code or enter credentials, and the profile appears in your SIM settings. That’s it. The plan isn’t running yet.
Activation is when the plan actually starts working and your data allowance begins counting down.
Why does this matter? Because many travel eSIM providers (including Esimify) let you install the eSIM days or even weeks before your trip. The plan only activates when you connect to a supported network at your destination or manually enable the line. So you can set everything up from your couch, fly to your destination, and turn on the eSIM when you land.
If you see the eSIM listed in your phone’s settings but can’t get data, it might simply be installed but not yet activated. Don’t panic.
Pro tip: Install your eSIM 1 to 2 days before departure so you can troubleshoot at home if anything goes wrong.
QR Code Activation
When you purchase a travel eSIM, most providers send you a QR code by email. That QR code contains two critical pieces of information: an SM-DP+ address (the server where your eSIM profile lives) and a matching ID (your unique identifier on that server). Scanning the code tells your phone where to download the profile from.
How to Activate eSIM on Android via QR Code
The steps differ by brand. Here’s a quick reference:
| Device | Path |
|---|---|
| Google Pixel | Settings → Network & Internet → tap + next to SIMs → “Don’t have a SIM card?” → Next → Scan QR code |
| Samsung Galaxy | Settings → Connections → SIM Manager → Add eSIM → Scan QR code from carrier |
| Stock Android (other) | Settings → Network & Internet → Mobile Network → Add → Scan QR code |
Common QR Code Issues
A few things that trip people up:
- Blurry or small QR codes. If the code was sent by email, open it on a computer or second device and scan from your Android phone’s camera. You can’t scan a QR code displayed on the same screen you’re trying to scan with.
- Scanning from a printed page. This works fine. Print the email if you don’t have a second screen available.
- QR code already used. Most eSIM QR codes are single-use. If you deleted the profile and need to reinstall, you’ll likely need to contact the provider for a new code or use manual entry.
Esimify delivers QR codes by email, so you can scan from any screen or printout. No app download required.
Manual Activation (SM-DP+ Address + Activation Code)
This is the method most guides treat as an afterthought, but it’s what Google’s search results actually reward. Practitioners on Reddit and XDA forums frequently recommend manual entry as a more reliable fallback when QR scanning fails.
What Is an SM-DP+ Address?
SM-DP+ stands for Subscription Manager Data Preparation Plus. It’s a server address that identifies where your eSIM profile is stored. Think of it as a URL for your eSIM. When your phone connects to this server, it downloads the profile that lets you access a carrier’s network.
An SM-DP+ address typically looks something like: smdp.io.provider.com
What Is an Activation Code (Matching ID)?
The activation code, sometimes called the matching ID, is a unique string that identifies your specific eSIM profile on the SM-DP+ server. The SM-DP+ address gets your phone to the right server. The activation code gets you to the right profile on that server.
Together, these two pieces of information do the same job as the QR code, just entered by hand.
How to Manually Activate eSIM on Android
| Device | Path |
|---|---|
| Google Pixel | Settings → Network & Internet → tap + next to SIMs → “Don’t have a SIM card?” → Need help? → Enter it manually → Type SM-DP+ address and activation code |
| Samsung Galaxy | Settings → Connections → SIM Manager → Add eSIM → Enter activation code → Type SM-DP+ address and activation code |
| Stock Android | Settings → Network & Internet → Mobile Network → Add → Enter manually → Type SM-DP+ address and activation code |
Important: Double-check spelling and capitalization when entering these codes. Avoid copying trailing spaces or extra characters. One wrong letter and the download will fail.
When to Use Manual Entry
- Your phone’s camera is broken or unreliable
- You don’t have a second device to display the QR code
- The QR code scan keeps failing
- You prefer the precision of typing credentials directly
Esimify provides both QR code and manual SM-DP+ entry options with every purchase, so you always have a backup path. Visit the Esimify help and support page for detailed setup instructions.
EID (Embedded Identity Document)
Your EID is a 32-digit number that confirms eSIM hardware exists on your device. It’s like a serial number for the eSIM chip itself.
How to Check Your EID
The fastest method works on any Android phone: open your dialer and type *#06#. If an EID number appears alongside your IMEI, your device supports eSIM.
You can also find it in Settings → About Phone → look for EID.
If no EID shows up, your device doesn’t have eSIM hardware. This sometimes happens with regional variants of otherwise eSIM-capable phones. For example, certain China-market Android models ship without eSIM support even when the global version includes it.
Data Roaming
Here’s a setting that catches almost everyone off guard: most travel eSIMs require the Data Roaming toggle to be switched ON, even when you’re already in the destination country.
Why? Because many travel eSIM providers use roaming agreements to deliver service. Your eSIM profile may be registered with a carrier in one country but connecting to partner networks elsewhere. From your phone’s perspective, that’s roaming.
How to Enable Data Roaming
| Device | Path |
|---|---|
| Google Pixel | Settings → Network & Internet → SIMs → [Select eSIM line] → Roaming → Toggle ON |
| Samsung Galaxy | Settings → Connections → Mobile networks → Data roaming → Toggle ON |
Common mistake: Leaving data roaming off and wondering why the eSIM shows “No Service” or “No Internet.” If your eSIM is installed and you’ve arrived at your destination but have no connectivity, this toggle is the first thing to check.
This applies to travel eSIMs broadly, whether you’re visiting Canada, Europe, or Southeast Asia.
APN (Access Point Name)
An APN is the gateway configuration that connects your eSIM’s mobile network to the internet. It tells your phone how to route data traffic.
In most cases, the APN fills in automatically when you activate an eSIM. But sometimes it doesn’t, and you’ll get a connected signal with no actual internet access.
Where to Check or Edit APN Settings
Go to Settings → Network & Internet (or Connections on Samsung) → SIMs → select the eSIM line → Access Point Names.
If the APN is blank or incorrect, your eSIM provider should supply the correct values. Common fields include APN name, APN address, and authentication type. Esimify’s help page includes APN details when manual configuration is needed.
Compatible Android Devices
Not every Android phone supports eSIM. Here’s a general overview of brands and models that do:
- Samsung Galaxy: S20 and newer, Z Fold/Flip series, A54 and newer (varies by region)
- Google Pixel: Pixel 2 and newer (Pixel 2 had limited carrier support; Pixel 3a+ is more reliable)
- Motorola: Razr series, Edge 40 Pro, and select newer models
- Xiaomi: 13 series and newer (limited regional support)
- OnePlus: Select models starting from OnePlus 12
Key Caveats
Regional variants matter. A Samsung Galaxy sold in one country might support eSIM while the exact same model sold in another doesn’t. This is common with phones sold through certain carriers or in markets where eSIM regulations differ.
Carrier-locked devices will block third-party eSIMs. More on this below.
Quick check: Dial *#06#. If you see an EID number, you’re good. Or search “eSIM” in your Settings app.
Your phone also needs to be running Android 9.0 (Pie) or later. Older versions don’t support eSIM at all.
Browse Esimify’s travel eSIM plans to find data packages for 200+ countries once you’ve confirmed your device is compatible.
Carrier-Unlocked
A carrier-unlocked phone is one that isn’t restricted to a single network. If your phone is locked to, say, Verizon or T-Mobile, it may refuse to download an eSIM profile from any other provider.
Why This Matters for eSIM Activation on Android
Carrier locks are the #1 reason for “Could not add SIM” errors. The phone physically has eSIM hardware, but the software blocks profiles from unauthorized carriers.
How to Check If Your Phone Is Unlocked
- Samsung: Settings → Connections → Network operators. If you can search for and select different networks, the phone is likely unlocked.
- Any Android: Insert a SIM card from a different carrier. If it connects, the phone is unlocked.
- Contact your carrier and ask directly. Many carriers will unlock your phone for free after you’ve paid it off.
Common Activation Errors on Android
Things go wrong. Here are the most frequent issues and how to fix them.
“Stuck on Activating” Loop
This is the most reported problem. You’ve scanned the QR code or entered the SM-DP+ credentials, the eSIM appears in your settings, but it just says “Activating…” and never finishes.
Practitioners on Reddit report that roughly 70% of these cases resolve with a single step: toggle Airplane Mode on, wait 10 seconds, toggle it off.
If that doesn’t work:
- Clear Carrier Services cache. Go to Settings → Apps → find “Carrier Services” → Storage → Clear Cache. This app holds configuration data that can become stale and block activation. This fix is well-known in the XDA and Android community forums but rarely mentioned in official guides.
- Restart your phone. A full power cycle, not just a screen lock.
- Disable VPN or Private DNS. VPN and antivirus software can interfere with the connection to the SM-DP+ server. Turn them off temporarily during activation.
- Check for software updates. Ensure your phone is running the latest Android version.
“Could Not Add SIM”
This almost always means your device is carrier-locked. Contact your carrier to request an unlock before trying again.
“Your eSIM Isn’t Ready Yet”
The profile is installed but hasn’t activated. Make sure you’re connected to Wi-Fi, turn off Airplane Mode, and confirm the eSIM line is enabled in your SIM settings.
Pixel eSIM Bug (May 2026)
A significant issue surfaced on the Google Pixel subreddit in mid-2026, with Pixel 9 Pro XL users reporting that their phones suddenly stopped recognizing eSIM profiles entirely. Android Central covered the bug, noting the fundamental diagnostic challenge: with a physical SIM, you can pull it out and test it in another device, but an embedded SIM can’t be moved.
The community-identified workaround involves disabling developer options. If you’re experiencing this on a Pixel device, check Google’s support forums for the latest patches.
The Android vs. iOS Gap
It’s worth acknowledging that activating an eSIM on Android is, on average, a rougher experience than on iPhone. An Android Authority reviewer in late 2025 wrote that transferring eSIMs between Android devices “still fails about half the time,” even when carriers claim to support it. The QR code and manual entry methods covered in this guide are more reliable than carrier-app transfer tools.
Step-by-Step Summary: Activate eSIM on Android
For quick reference, here’s the complete process from start to finish:
- Confirm compatibility. Dial
*#06#and check for an EID number. - Confirm your phone is carrier-unlocked.
- Purchase your eSIM and receive QR code or SM-DP+ credentials by email.
- Connect to Wi-Fi. You need internet to download the profile.
- Go to your eSIM settings. Samsung: Settings → Connections → SIM Manager. Pixel: Settings → Network & Internet → SIMs.
- Scan the QR code or enter the SM-DP+ address and activation code manually.
- Label the eSIM (e.g., “Travel Data”) so you can identify it later.
- Set it as your data line if you want to use it immediately, or leave it inactive until you arrive at your destination.
- Turn on Data Roaming for the eSIM line.
- Verify connectivity. Open a browser and load a page.
Ready to Get Your Travel eSIM?
Now that you know every term and setting involved, getting connected is straightforward. Esimify delivers a QR code by email for 200+ countries, with no app required. Activate directly in your Android settings using the QR scan or manual SM-DP+ method.
Browse travel eSIM plans by destination and see what other travelers have to say.
Frequently Asked Questions
Can I activate an eSIM on Android without a QR code?
Yes. Every eSIM comes with an SM-DP+ address and activation code that you can enter manually in your phone’s SIM settings. This is a fully supported method on Samsung, Pixel, and stock Android devices.
How do I know if my Android phone supports eSIM?
Dial *#06# on your phone. If a 32-digit EID number appears, your device has eSIM hardware. You also need Android 9.0 or later and an unlocked phone.
What’s the difference between installing and activating an eSIM?
Installing downloads the eSIM profile to your phone. Activating starts the data plan. You can install in advance and activate later, which is ideal for travelers who want to set up before a trip.
Why does my travel eSIM need Data Roaming turned on?
Most travel eSIMs connect through roaming agreements with local networks. Even though you’re in the destination country, your phone sees the connection as roaming. The Data Roaming toggle must be ON or the eSIM won’t access the internet.
My eSIM is stuck on “Activating.” What should I do?
Toggle Airplane Mode on and off. If that doesn’t work, clear the Carrier Services app cache (Settings → Apps → Carrier Services → Clear Cache), restart your phone, and disable any VPN or antivirus software temporarily.
Can I have two eSIMs active on my Android phone at the same time?
Many newer Android phones support multiple eSIM profiles, but typically only one cellular data line can be active at a time. You can switch between them in your SIM settings. Dual-SIM setups usually pair a physical SIM for calls with an eSIM for data.
Do I need an app to activate an eSIM on Android?
No. You can activate an eSIM entirely through your phone’s built-in settings using a QR code scan or manual entry. Some providers require their app, but Esimify works directly through Android settings with no app needed.
How long do I have to activate my eSIM after purchasing it?
This varies by provider. Many eSIM profiles have an activation window (commonly 30 days from purchase). Check your provider’s terms for the specific deadline. Install early to give yourself time to troubleshoot if needed.