


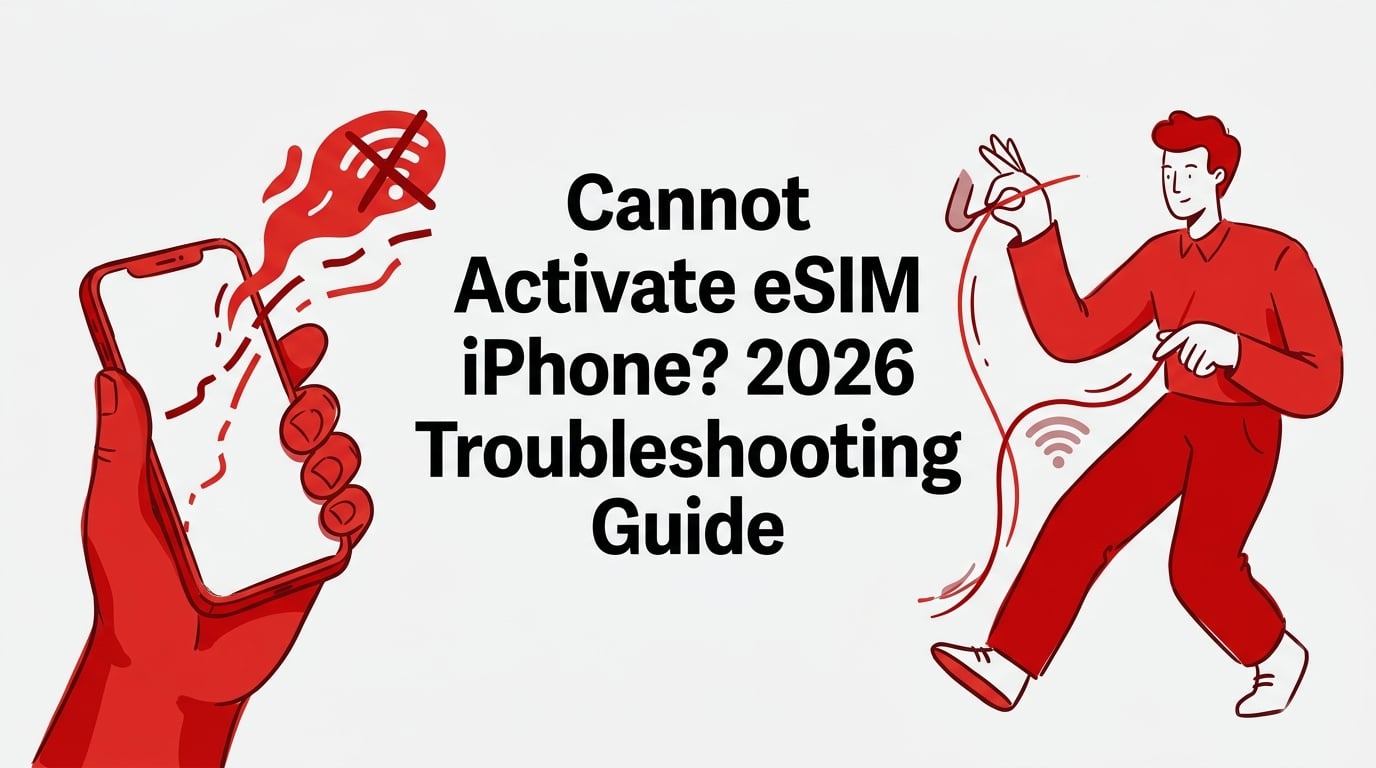
Cannot Activate eSIM iPhone? 2026 Troubleshooting Guide
TL;DR
If you cannot activate an eSIM on your iPhone, the most common causes are unstable Wi-Fi (especially airport captive portals), an active VPN, a carrier-locked device, or a QR code that was already used. Start by switching to reliable Wi-Fi, turning off your VPN, and restarting your iPhone. If the error persists, check Settings > General > About > Carrier Lock to confirm your phone shows “No SIM restrictions,” and try manual SM-DP+ entry instead of the QR scan.
What “Cannot Activate eSIM” Actually Means on iPhone
When your iPhone says it cannot activate an eSIM, the device is telling you that it failed to download or provision a digital SIM profile. This is different from a connection problem. Activation is the step where iOS pulls the eSIM profile from a remote server and installs it on your device. Connection happens afterward, when the installed profile registers on a cellular network.
You might see several variations of this error: “Unable to Activate eSIM,” “Cellular Plan Cannot Be Added,” or the status bar simply stuck on “Activating…” with no progress. Each points to a slightly different root cause, but they all mean the same thing at a high level: the profile never made it onto your phone.
As of April 2026, Apple’s official troubleshooting page lists the baseline requirements: a Wi-Fi or hotspot connection (with exceptions in certain eSIM-only regions), the latest version of iOS, and an active plan from a carrier or provider that supports eSIM.
Understanding this distinction matters because people often confuse activation failure with post-activation issues like “No Service” or “SOS Only.” Those are network problems, not installation problems. If your eSIM shows up in Settings > Cellular but you have no data, skip ahead to the “Activated but No Service” section below.
Quick Fixes: Try These First (90 Seconds)
Before diagnosing root causes, run through this checklist. It resolves the majority of cases where an iPhone cannot activate an eSIM:
- Switch to stable Wi-Fi. Use your home or hotel network, not airport Wi-Fi. Captive portals (those “Sign In to Use Network” pages) frequently interrupt the download.
- Turn off your VPN. Multiple eSIM providers, including Airalo, specifically warn that VPNs and content blockers cause activation errors.
- Turn Airplane Mode off. This one catches people off guard. While Wi-Fi works in Airplane Mode, some eSIM profiles need brief contact with the mobile network to finish activation. Keep Airplane Mode off during the entire install process.
- Restart your iPhone. Hold the side button and volume button, slide to power off, wait 30 seconds, then turn it back on.
- Update iOS. Go to Settings > General > Software Update and install any available update.
- Update carrier settings. Go to Settings > General > About and wait a few seconds. If a carrier settings update is available, iOS will prompt you to install it.
- Try again. Go to Settings > Cellular > Add eSIM and scan your QR code or enter details manually.
If these steps don’t work, the problem is deeper. Read on.
Root Causes and Exact Fixes
Unstable or Filtered Internet During Installation
This is the single most common reason people cannot activate an eSIM on iPhone, and it’s almost always avoidable.
Airport Wi-Fi is the worst offender. Practitioners on travel eSIM forums consistently report that captive portal networks (the kind that redirect you to a login page) interrupt the eSIM provisioning handshake. One connectivity guide notes that users see significantly higher success rates on stable home or hotel networks compared to public Wi-Fi.
The fix: Connect to a network without a captive portal. If you’re at the airport with no other option, create a hotspot from a travel companion’s phone. Disable any VPN, ad blocker, or DNS filtering app before you start.
Planning a trip to Canada or another nearby destination? Install your travel eSIM at home the night before your flight. You’ll avoid the Wi-Fi problem entirely.
Your iPhone Is Carrier-Locked
A locked iPhone will reject eSIM profiles from providers other than the locking carrier. This is a hard block, and no amount of restarting will fix it.
How to check: Go to Settings > General > About and scroll to Carrier Lock. If it says anything other than “No SIM restrictions,” your phone is locked. Apple states clearly that only your carrier can unlock your device. Apple itself cannot do it.
Practitioners on Reddit’s r/applehelp have flagged a specific edge case worth knowing: iPhones purchased through Walmart or certain resellers sometimes carry a “US Reseller Flex” policy lock. Users report that this lock may not be visible at purchase and only surfaces when they try to add an eSIM from a different provider. The fix is the same: contact the original carrier to request an unlock.
Region or Model Doesn’t Support eSIM
Not every iPhone variant has eSIM capability. In China mainland, only specific recent models (iPhone 17e and iPhone Air) support eSIM. Hong Kong and Macau models may use dual nano-SIM trays instead of eSIM entirely. Apple’s setup page lists the full breakdown by region.
How to check: If Settings > Cellular doesn’t show an “Add eSIM” option at all, your model likely doesn’t support it. There’s no workaround here; you’ll need a physical SIM or a different device.
QR Code Already Used or Expired
Most eSIM QR codes are single-use. If you scanned a code, the install failed halfway through on bad Wi-Fi, and you deleted the partial profile, that QR code is now consumed. Scanning it again will produce a “This code is no longer valid” error.
Airalo’s support documentation explains this is one of the most common activation errors. The code was tied to a single provisioning attempt, and the server considers it fulfilled (even though your phone didn’t finish installing).
The fix: Contact your eSIM provider and request a replacement profile. Have your EID and IMEI ready (find both at Settings > General > About). Most providers will reissue at no charge for failed installs.
Too Many Stored eSIM Profiles
iPhones can store eight or more eSIM profiles, but only two lines can be active simultaneously (on iPhone 13 and later). In practice, some users hit installation failures when they have many old profiles sitting on the device, even if those profiles are inactive.
The fix: Go to Settings > Cellular, tap on old or expired eSIM plans you no longer need, and select Delete eSIM. Then try adding the new one. This is especially common among frequent travelers who accumulate profiles from different trips.
Wrong Activation Method
iOS supports multiple ways to install an eSIM: QR scan, manual SM-DP+ entry, Quick Transfer from another iPhone, Carrier Activation, and (on iOS 17.4 and later) link-based installation directly from Mail or Safari. Apple documents all five methods.
If QR scanning fails, try manual entry. Go to Settings > Cellular > Add eSIM > Enter Details Manually. Your provider should have given you an SM-DP+ address and an activation code, often listed below the QR code or in the confirmation email. Paste them in. This bypasses any camera or QR rendering issues and connects directly to the provisioning server.
On iOS 17.4+, you can also long-press an eSIM link in an email or webpage and tap “Add eSIM.” This method works well when QR codes are being stubborn.
Stuck on “Activating…” With No Progress
Sometimes the eSIM appears in your Cellular settings but just sits there saying “Activating…” forever. Apple’s recommended sequence for this specific scenario:
- Toggle Airplane Mode on, wait 10 seconds, toggle it off.
- Go to Settings > Cellular, tap the stuck line, toggle Turn On This Line off, wait 10 seconds, toggle it back on.
- Restart your iPhone.
- Go to Settings > General > About to trigger a carrier settings update.
If none of that works, the problem is likely on the provider’s backend. Community threads on Reddit’s AT&T and Mint Mobile subreddits show this pattern repeatedly with MVNOs (smaller carriers that run on larger networks). The provider’s provisioning system may be stalled, and only their support team can push it through.
Activated but No Service? That’s a Different Problem
If your eSIM installed successfully (it shows up in Settings > Cellular with a status other than “Activating…”) but you see “No Service” or “SOS” in the status bar, you don’t have an activation problem. You have a connection problem.
For travel eSIMs, the fix is almost always the same:
- Turn Data Roaming on. Go to Settings > Cellular, tap your travel eSIM line, and enable Data Roaming. Most data-only travel eSIMs connect to foreign partner networks, which requires roaming to be active. Apple’s roaming support page confirms this.
- Set the eSIM as your data line. Go to Settings > Cellular > Cellular Data and select the travel eSIM.
- Wait a few minutes after landing. Network registration isn’t always instant.
- Try manual network selection. Go to Settings > Cellular > Network Selection, turn off Automatic, and pick a network your eSIM provider supports.
This “activated but no service” scenario is the most common pitfall for travelers. If you’ve purchased a travel eSIM for Australia or another international destination, make sure Data Roaming is on before you assume something is broken.
Timing: When to Install vs. When the Clock Starts
This is a question that trips up many first-time eSIM users. Most travel eSIM providers start counting your plan’s validity period when the eSIM first connects to a network at the destination, not when you install it. That means you can safely install the profile at home before your flight.
But there are exceptions. Some brands auto-start plans if they aren’t used within 60 to 90 days of purchase. Others begin the countdown the moment you install the profile, regardless of whether you’ve connected.
Read your provider’s activation policy before purchasing. The difference between “starts on first connection” and “starts on install” can mean burning several days of your plan while you’re still at home.
For more on timing your install and other pre-trip tips, the Esimify blog covers these scenarios in detail.
The iMessage Quirk After Adding an eSIM
This isn’t technically an eSIM activation failure, but it gets misdiagnosed as one constantly. If you add an eSIM after initial iPhone setup and suddenly iMessage starts sending from your email address instead of your phone number, the fix is simple: go to Settings > Messages, toggle iMessage off, wait 30 seconds, and toggle it back on. This forces iOS to re-bind your number.
Tom’s Guide reported this as a known issue on newer iOS versions. It’s harmless but confusing if you don’t know what’s happening.
When to Escalate (and What to Send)
If you’ve worked through every fix above and still cannot activate an eSIM on your iPhone, it’s time to contact support. But contact the right team:
Contact your eSIM provider if:
- The QR code or link won’t add the profile
- You see “This code is no longer valid”
- You need a profile reissue
Contact your carrier if:
- Your device appears locked
- Quick Transfer or Carrier Activation fails
- You suspect a provisioning block on their end
Contact Apple if:
- Multiple eSIMs from different providers all fail on the same device
- You’ve followed every Apple-documented step
- On iOS 18+, you can run diagnostics through the Apple Support app
What to have ready: Your EID and IMEI (both at Settings > General > About), your device model, iOS version, the exact error message, and a screenshot of the error. Providing this upfront saves at least one back-and-forth email.
For Esimify customers, the help center has install guides and direct access to 24/7 email support. If an activation issue can’t be resolved, Esimify’s posted refund policy includes paths for eSIMs that can’t be delivered or activated.
Exact iOS Paths for Every Activation Method
For quick reference, here are the precise screen-by-screen paths for each method Apple supports:
QR Code: Settings > Cellular > Add eSIM > Use QR Code. Point your camera at the code. On iOS 17.4+, you can also long-press a QR image in Mail or Safari and tap “Add eSIM.”
Manual Entry: Settings > Cellular > Add eSIM > Enter Details Manually. Type or paste the SM-DP+ address and activation code from your provider.
Quick Transfer: Both iPhones need iOS 18.4+, Bluetooth on, and the same Apple Account. Settings > Cellular > Add eSIM, then choose the plan to transfer.
Link-Based (iOS 17.4+): Tap an eSIM activation link in an email, message, or webpage. iOS will prompt you to add the cellular plan.
Find EID/IMEI: Settings > General > About. Scroll down to see both values.
Get a Travel eSIM That Works
Esimify provides prepaid data eSIMs for 200+ countries and regions, with no app required. You install via QR code or manual SM-DP+ entry directly in your iPhone settings. If activation stalls, 24/7 email support is available, and the refund policy covers cases where an eSIM can’t be delivered or a technical fault can’t be resolved. You keep your home number for calls and SMS while using Esimify for data.
See what other travelers think on the Esimify reviews page.
FAQ
Do I need Wi-Fi to activate an eSIM on iPhone?
Yes, in most cases. Apple requires a Wi-Fi or hotspot connection to download the eSIM profile, with limited exceptions in certain eSIM-only regions. Use a stable, non-captive-portal network for best results.
Can I reuse an eSIM QR code after deleting the profile?
Usually not. Most eSIM QR codes are single-use. If you delete the profile and try to scan the same code again, you’ll get a “This code is no longer valid” error. Contact your provider for a replacement profile.
My iPhone is unlocked but I still cannot activate an eSIM. What else can I try?
Switch to manual SM-DP+ entry instead of QR scanning (Settings > Cellular > Add eSIM > Enter Details Manually). Also update carrier settings by visiting Settings > General > About, remove any old eSIM profiles you don’t need, and make sure your VPN is off. If you’re on iOS 17.4+, try a link-based install.
Do I need to turn on Data Roaming for a travel eSIM?
For most travel eSIMs, yes. Data-only travel eSIMs typically connect through foreign partner networks, which requires Data Roaming to be enabled. Go to Settings > Cellular, tap your travel eSIM line, and toggle Data Roaming on.
Why does iMessage show my email instead of my phone number after adding an eSIM?
On newer iOS versions, adding an eSIM after initial setup can cause iMessage to unbind from your phone number. Toggle iMessage off in Settings > Messages, wait 30 seconds, then toggle it back on. This forces re-binding.
How many eSIMs can an iPhone store?
iPhones can store eight or more eSIM profiles, but only two lines can be active at the same time (on iPhone 13 and later). If you’re having trouble adding a new profile, try deleting old ones you no longer use.
When does my travel eSIM’s validity period start?
It depends on the provider. Most start counting when the eSIM first connects to a destination network. However, some providers auto-start plans within 60 to 90 days of purchase if the profile is never used. Always check your provider’s activation policy before buying.
My eSIM says “Activating…” and won’t finish. What should I do?
Follow Apple’s sequence: toggle Airplane Mode on then off, toggle the line off then on in Settings > Cellular, restart, and update carrier settings. If it still won’t move past “Activating,” the issue is likely on the provider’s backend. Contact them with your EID, IMEI, and a screenshot of the error.